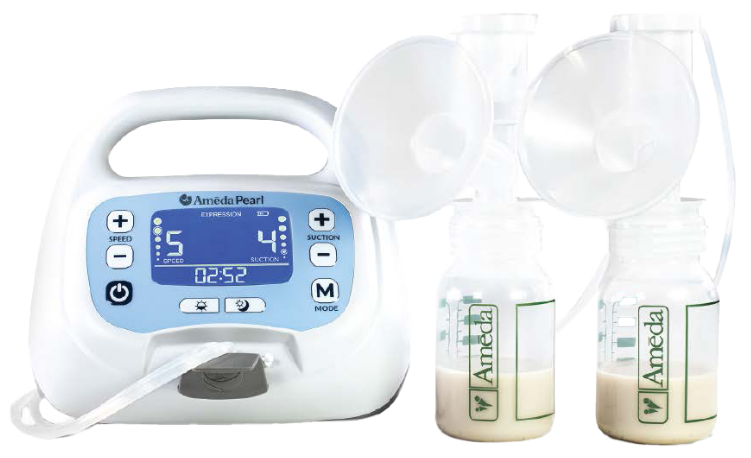
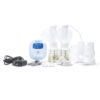
Ameda Pearl
Breast Pump Quick Start
1. Step
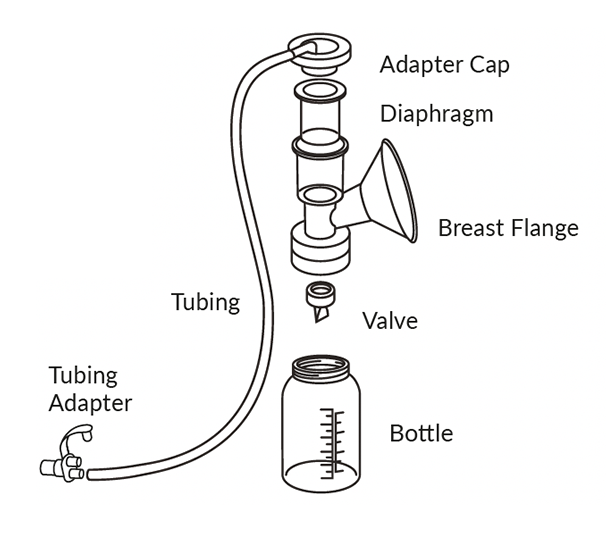
- If kit is sterile, use preassembled kit immediately.
- If not sterile, clean, sanitize and assemble the kit (follow cleaning instructions on the back of this card).
2. Step
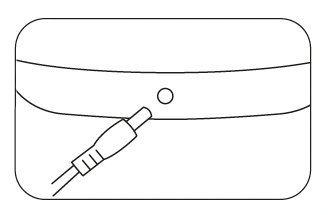
- First connect one end of the power adapter to the back of the pump, then the other end to an electrical outlet.
3. Step
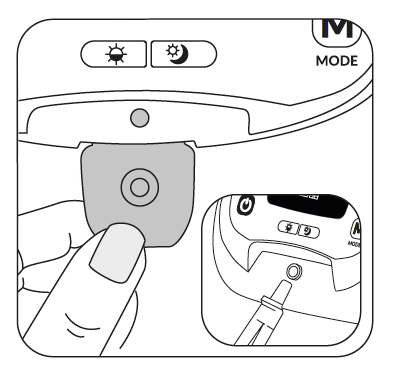
- Insert tubing adapter firmly into port under gray flap on front of pump.
- If not double pumping, REMOVE ONE TUBE and insert the attached plug into the unused port of the adapter.
4. Step
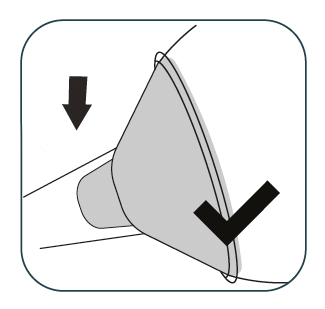
- Center flange on breast and press firmly to create a tight seal. (see back of card for proper fit).
5. Step
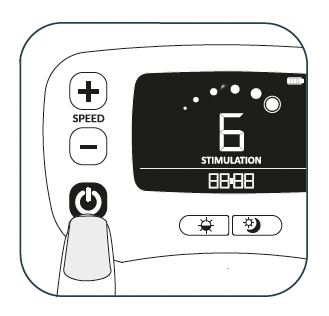
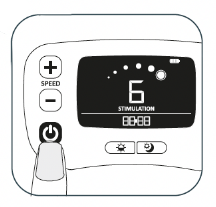
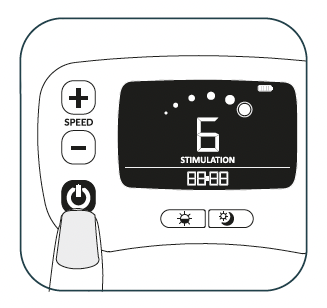
- Push power button.
- Pump starts in Stimulation Mode.
6. Step
Adjust Stimulation Suction
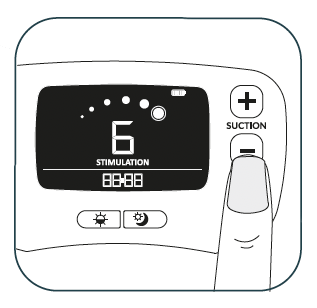
- Adjust the Stimulation Suction setting gradually to your preferred comfort level (maximum 6)
7. Step
Change Mode
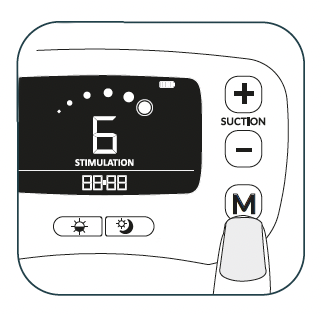
- Once your milk starts to flow using the STIMULATION MODE, press the Mode (M) button to switch into Expression Mode.
8. Step
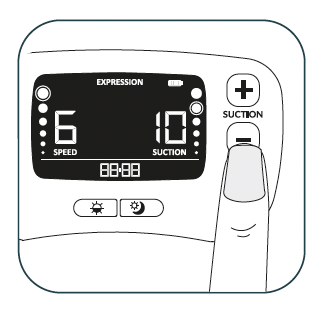
Adjust Expression Suction Level
- Adjust the Expression Suction setting gradually to your preferred comfort level (maximum 12).
9. Step
Adjust Speed
- Adjust the speed in Expression Mode to your preferred comfort level (maximum 6).
- Once your milk stops flowing freely while in Expression Mode, press the Mode button to go back to Stimulation Mode to induce a second let-down if desired.
10. Step
End Pumping Session
- When finished pumping, press power button to turn off.